Monday, May 21, 2012

Fellowship,QuakkenAsh and Fried Pickles..

                   Okay- so this Saturday Brian and I ended up on a Mushroom hunt with another couple. We work with the Wife half of the couple, via Facebook, I saw her pics of these beautiful, but mysteriously named mushrooms.. QuakkenAsh. I commented on the picture that I would love to look for the mushrooms or at least learn to and we should have a picnic while we were at it too! Well, according to her Hubby, I had her at Picnic! We had a beautiful afternoon conversing and looking for the QuakkenAshes (yea- I made up the plural spelling) We had an incredible picnic, conversation and just a plain olde great time! 

                  We got home yesterday around dinner time, still full from the Greek salad, Greek Chicken sandwiches and delish mint brewed iced sweet tea and brownies, that Brian and I decided to just deep fry those QuakkenAsh up in a batter... hence my search for an awesome batter. After some searching and picking and choosing I came up with the following... I will post the recipe - with pics- but at the end of the post- I will put the actual recipe so you can copy and paste if you want. This batter works incredibly well with Pickles too- which - we did after we realized we had more batter than mushrooms and not one to waste food- we wrapped some pickle spears in paper towels to dry them and batter fried them.. I have no pics of those as I was too busy eating.

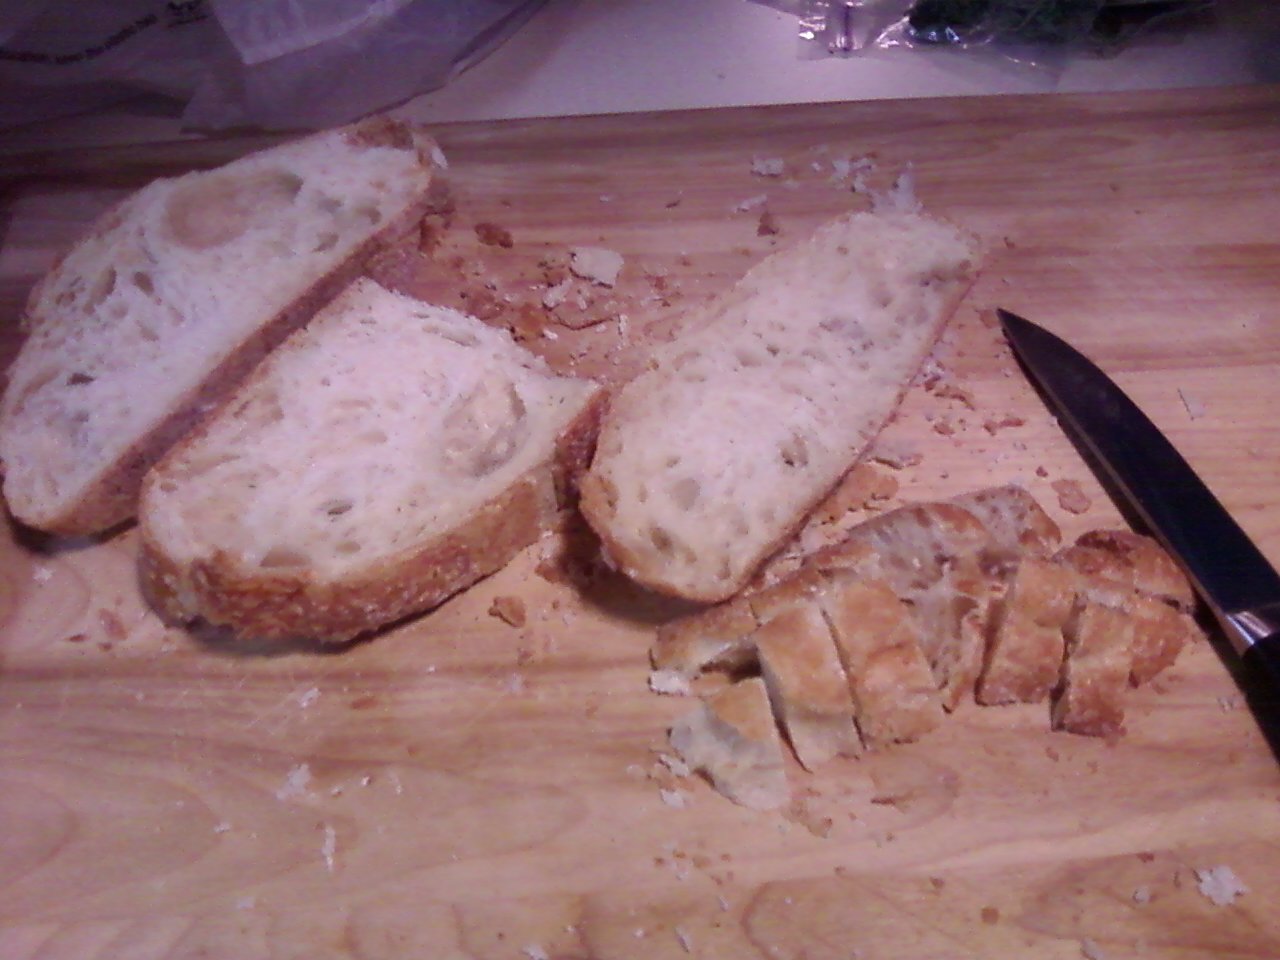
So the first thing we did was wash the mushrooms and cut the part off that was attached to the trees that you find them on....
Okay- so after alot of searching - apparently QuakkenAsh are actually Oyster Mushrooms- but during our search we decided that the name QuakkenAsh was a much cooler name since we also came up with a reason for why they were called QuakkenAsh- Quakers obviously were the first to find them on Ash Trees! 
The next step was to heat the oil- I used my cast iron dutch oven. The recipe called for 3 inches of oil, I used about 1 and a half inch of smartoil- and not to be out done by smart oil, I added 3 Tablespoons of Bacon grease and 2 Tablespoons of lard... no self respecting deepfryin person uses straight "Smart Oil" I mean seriously you are deep frying!
I just got this dutch oven so I figured this would help season it, it is an old Wagner cast iron, don't bother buying new cast iron if you can help it they are not made as well.
While I was heating up the oil, bacon and lard goodness.. Brian was making the batter. Here is an action shot of him pouring the liquid and mixing at the same time into the flour mixture.
Then once it was all mixed up well, we started adding the mushrooms to the batter using a slotted spoon to let some of the batter drip off, we added it to the oil.
You kinda gotta swish them around to get the batter all over , then seemingly to defeat the purpose, we tapped the slotted spoon on the side of the bowl

We added more than 2 at a time, this is just when the pic was snapped, we added about 7-10 at a time and used the same slotted spoon to flip them after they were a nice brown color on the one side.
And here is my handsome hubby, using a pan lid as a shield, considerin this was the first time I ever deep fried something in a open kettle, I had the heat up to high. He yelled get me something! This was the first thing I grabbed, he is kinda like 'captian America deep fryer'
I think Captain America needs a larger shield next time!

Here is the beautiful pic of the QuakkenAsh (Oyster) Mushrooms all nice and deep fried:
I suggest using this recipe because it the first thought that came to my mind as I was eating my plate of Deep Fried Mushrooms and Pickles was, I am eating a way better meal than I would ever get in a restaurant right now.. Brian or maybe it was me I can not remember now stated, "Now this here, is good eatin'"


Here is the recipe:
  • 2 cups beer - we used a can of Yuenling Lager Light- it is what we had on hand
  • 2 cups sifted flour
  • 2 teaspoons garlic powder
  • 2 teaspoons salt
  • 1 teaspoon pepper
  • 1 teaspoon parsley flakes 
  • About 1 to 1/2 cup of oil, 3-4 tablespoons of bacon grease,2-3 tablespoons of lard
  • 1 -2 lb whole fresh large mushroom, washed and dried or any other veggie- heck try oreos or pickles- I can bet we woulda tried oreos- if I purchased those kinda things!

Directions:

  1. Pour about 3 inches (more if needed to cover the mushrooms) of oil into a large pot.
  2. Heat until it reaches about 350 degrees
  3. Meanwhile Mix beer, flour, garlic powder, salt, pepper and parsley flakes in a large bowl.
  4. Mix until smooth and well blended without any lumps.
  5. Dip mushrooms into batter and coat well.
  6. Fry mushrooms in batches in oil until crispy and brown.
  7. Time will vary depending on temperature of oil and the amount of mushrooms being fried.
  8. I usually do about 10 mushrooms at a time and it takes about 8 minutes.
  9. When done, remove mushrooms to a plate or bowl lined with paper towels to drain off excess oil.

Friday, May 18, 2012

Whoa- What do you mean it is May?!?!?!!


        Okay- I know it has been a while since I posted anything, I am a slacker a lazy blogger! Actually I am like every other Wife and Mother- who works- I am so busy – I have a Husband who helps, but it is still a lot to do right?  
        So what do a lot of people – Mom’s who have so much to do, make Lameo New Year’s Resolutions…? Well, this year I made a super dupper non-Lameo New Year’s resolution, and here it is May and I am steadily working my way thru it and getting it accomplished!       
I Resolved to learn new skills- not lose weight, stop eating crap or quit something… Learn new skills.

 
Here are a few of the skills I want to learn on my list:
Make my own Cheese…at least 3 different kinds… Ricotta, cream cheese and Mozzarella
Make my own Laundry Soap
Make my own Fabric softener
Learn to use my Pressure Canner
Learn to Knit
Learn to use my sewing machine ( I got one second hand in awesome condition)
Learn to butcher Chickens
Learn to use my Clothes line ALL THE TIME

So far I have learned to crochet- so I am changing the knitting to crocheting! Knitting was stressing me out and I don’t need any stress.

I have the instructions to make the Laundry Soap and Fabric Softener, I got A LOT of it on Freecycle last year and I still have a few bottles left, once it is gone, I will be making it.


I am going to try the Pressure Canner soon so that I will be able to can Chicken broth and shredded meat from the Chickens that Brian and Butchered 3 weeks ago- which I might add was more fun that I want to admit!


I have to get my sewing machine to the local sewing shop for a tune up, and I have people well, a few buddies lined up to help me out with it. I have been hoarding patterns getting them at yard sales and thrift stores for 25 cents a pop.
I haven’t used the dryer except once since I the second week in March- I consider that a complete win, of course when we have 4 or 5 days of rain in a row since it got warm, we are hard pressed to not use it…
             So – it is May, how are your New Year’s Resolution’s going?

Sunday, January 15, 2012

Old Recipes from and for Tight Times and Farming Women

I may have mentioned before about getting a massive amount of hand written and cut out recipes from my besties (Grace) Mom who is in her 80's- I love love love looking at them and copying them they are so easy to use and have ingredients we all use- they are such a treasure too- since I think of her mom as a grama to me- "Grammy Louise"
Does anyone else have
hand written old simple recipes that would be good in a survival situation- making ingredients from scratch with the items in season- that is what I am thinking survival is all about these days- not buying exotic foods- but what is in season and what we grow- ....or have in the cupboard- here is one I am going to try:
Stone Jar Molasses Cookies:
1 C Molasses
1.2 C shortening
1 tsp soda
2 1/4 cups flour
1 3/4 tsp baking powder
1 tsp salt
1 1/2 tsp ginger
Heat Molasses to boiling point, remove from heat. Stir in shortening and soda. Measure flour by sifting. Blend remaining ingredients by stiring. Chill Dough.Heat oven to 350. Roll dough thin- cut into shapes. bake on lightly greased baking sheets for 5-7 min and do not over bake! makes 6 doz. 21/2 inch cookies
Easy Creamy Icing:
Blend 1 c sifted confectioners sugar,1/4 tsp salt and 1/2 tsp of desired flavoring- vanilla lemon ect.and liquid to make it easy to spread about 1 TBSP of water or cream. Spread on cooled cookies with spatula or pastry brush...

Any good homesteader would have these ingredients on hand! and if you fall on hard times $$ wise- cookies make hubbies and kids happy!

Saturday, December 31, 2011

Use it up, Wear it out, Make do or do with out

             I find myself despite always having trying to rebel against it- wanting to be more green. I don't know if it is cause I am moving toward a more simple life style or I am obsessed with the Amish way of life or i just plain old got some crazy pretty reuseable grocery bags for Christmas this year?
              I have an amazing amount of reuseable bags to begin with- but since I started part time at a grocery store ontop of my regular day job, I know how much easier these are to pack for the cashiers- I love when people come thru my line with the sturdy bags- the cat hair lined ones- not so much- but I am customer service oriented so I suffer thru that with a smile! 

              I think that my New Year's resolution is to not waste- like Connor told me- " waste not want not" he learned it in school- he was so proud to tell me that- and I am starting small with the reuseable bags, I reuse my plastic ones- believe me.. for numerous things- but it seems I have a glut of them right now.
               I want a simpler life, we have had almost a week off from work and Brian and I have cooked, ground 20 lb of venison, food savered meat, made our own deer bologna( a separate post soon to come) and pretty much i have started cleaning out cupboards.... any way this is a short post about becoming more simple and more nondependant on the outside world I suppose.. so here are 2 pics of my new reuseable bags which I adore!
This is an adorable 10x8 bag my Mom got me for Christmas perfect for one or two things or a fast short trip and even though I love the simple life- I love the pics from Breakfast at Tiffanys!

I love love love this bag, it was from my boss at work - Susan, I have used it quite a bit since she gave them to us all at work....
What little ways did you all decide to become "green" or simple- you know I have also decided thru making this post - I do not like the word "Green" LOL- I like Simple or Homesteading/Homesteader, Frugal or Acting Amish .....

Wednesday, December 28, 2011

Smoked Chicken Leg Quarters~mmmmmmmmm

             So Brian got a Brinkman Smoker, the gas one, for Christmas... well we have been smoking everything we can get our hands on! I got Chicken Leg Quarters for 99 cents a lb... which is really cheap. Normally I won't pay more than that for chicken, since we buy our beef from a farmer for way cheaper than a grocery store, I try to get our other meat when it is marked down at the store then freeze it.
So far we have smoked ribs- literally awesome- we had to tell Max to come up for air during dinner, My mom bought salmon for Christmas and we smoked it ( my Step Daughter and her Boyfriend loved it so much they bought one for us to smoke for them to take home to D.C) I will take pics this time around to do a post on it. 
              And we have been doing the Chicken Leg Quarters.... which this post is all about!
Here is the recipe:
4 Chicken Leg Quarters
Marinade in 1 cup Olive Oil-2 TBSP Bells poultry seasoning, pepper,and salt
1 TBSP of Garlic Powder
You want to put the marinade mix in a large ziplock that will hold the chicken then add the chicken and marinade for at least 4 hours.
 Brian bought some sprayers and added olive oil and vinegar to it - and sprayed the chicken every hour with it to keep it moist.
He used Apple wood  and in the liquid pan put water and 1 Lager beer....
the target tem we had was 250 degrees and the target inside meat temp was 180 degrees.


Feel free to ask me questions and I can ask Brian the answers- since this is my first post on smoker recipes!
on that note - here are the pictures:
Spraying with the olive oil and vinegar mix to keep the chickens moist


My Adorable Hubby Brian

The wood Chips soaking in water

Spraying again


I wish I had smell-o-vision

The Happy flashlight holder Max


Almost done! See the liquid bubbling?

You can't see the temp but it is right!


Plated up and totally gorgeous!

Thursday, December 22, 2011

Venison Jalepeno Poppers!

             It has been way too long since I posted~ a whole summer and fall too long. We have been so busy gardening, canning then school started for the kids and I got a part-time job on top of my regular day job.... but I am gonna make it my New Year resolution to post more! Plus all my pictures normally came from my old phone, which died on my and I have been using my son's hahahah- which I think is even older since he got an upgrade, sooooo I started using Brian's camera- hopefully the picture quality is better now for the blog.

               So- I frequent Homesteading websites alot- and since we got some venison this year from  wonderfully generous friends, I have been looking up neat, cool, frugal fun recipes- and someone suggested making Jalapeno Poppers (our friend gave us their favorite venison potpie recipe- which when I make I will post it as well). This is right up the boys and my alley... I couldn't wait to try them:

                First the recipe- then the pics taken by my lovely assistant Brian (I told him he was my new Blogger Photographer)

I only made a few since it was a new recipe and I wanted to make sure if it worked out I would have enough ingredients left on hand for appetizers on Christmas Day:)
Plus this is a pretty frugal recipe- I got the bacon for 99 cents- the Jalapenos were 80 cents for 15 of them the cheese was on sale for 2.50 (sad that I think 2.50 is a good sale price I remember when it was like 1.25 on sale- cheese making is next on my list of things to learn to do) the venison was gifted-
Venison Poppers:
5 Jalapenos~ Cut in half lengthwise and seeded
5 slices of bacon~ Cut in half
10 quarter inch wedges of sharp cheddar cheese
10 quarter inch slices of venison

In each half of jalepeno put a slice of venison, then cheese, then wrap in a half of a slice of bacon secure with a toothpick.. bake at 350 degrees for approx 20 min, then broil until bacon is crisp. Keep an eye on them when you broil them, they will burn!

Enjoy- They lasted all of about 4 minutes in my house- and that was with Brian and Max eating them hot out of the oven!
The Pretty Peppers all washed and ready to go!

Bacon from the freezer- of course cause I buy it on sale for about 99 cents a package and then freeze it

The venison butterfly steaks pack, that we foodsavered and then froze

Extra Sharp cheese mmmmm my favorite! Cheese should be SHARP unless it is Brie of course

Cutting and seeding the peppers- see- I am wearing a glove- I managed to slice my index finger this morning using a new razor, no way I wasn't wearing a glove.

Cutting the venison to fit into the peppers

Love this picture- I think it is so pretty the venison is soooo red and lean

Brian does a pretty good job of picture taking mid-point dontcha think? this is the cheese on half the peppers

Wrapping the peppers

All snuggled ready for the oven!

How awesome do they look? mmmm

2 minutes later on the plate

Four minutes later after I called Brian and Max to try them!

Tuesday, July 19, 2011

Homemade Frugal Croutons or "Fancy Scmancy Yippie Lookin Salad Toppins"

            I like to make things out of stuff that no one else might want, I like to re-purpose things, including food.. hence my love of day old bread. I like to make crackers and croutons, the kids love to eat them and so does Brian.             Making croutons is so easy, I can not believe there is even a market for packaged ones! They look fancy, they are great on top of tomato soup, to snack on, to put on *gasp* a salad! I should give a definition of Yippie- since it is in the title- I made the little word up ( and yes I am taking credit for the word, so don't try it!) It is a mash of two words~ Yuppie and Hippie... you know those   people who love their earthy crunchiness, tyedye, gardening and dirt, BUT- also love their money- their fancy things.... I know not really a technical definition- but think hard- we all know a Yippie!!
            Anyway- on to the croutons- now that I have probably offended someone!

Here is the recipe:


One loaf of day old bread- usually italian works best.
Olive oil, amount depends on size of loaf usually I add about 2 tablespoons- or other oil- I used Smart Oil- since I had it in the house from coupons!
Your favorite seasonings to taste- I used Onion Salt and Italian seasonings.

Cut the bread into bite sizes that you prefer, place bread in a large bowl or stock pot.. add oil and seasonings mix by hand-- it is just easier. Bake at 250 for about an hour- or until bread is dry and crisp.. checking on it about every 15 min to make sure it isn't burning, you can turn it in the pan- I use a large cookie sheet.

Allow to cool and store in a ziplock bag. If you make more than you think you will use in a week - you can freeze them! Freeze them in a ziplock freezer bag, it works great.


The package of Italian Bread- DAY OLD:) Plus, the evidence of the 50% off tag on the day old bread!
Cutting away on the board!
I cut these ones a little bigger than I normally do- I wanted to give it a shot see how they turned out- plus I was tired.
Large stockpot, I tried a large bowl, as I usually do, but they just didn't fit well this time.
The seasonings I used- Onion Salt and Italian
Oil
Mmmmm mixing by hand- clean hands mind you!
One the sheet ready to bake! and then enjoy!